How to Install an ANT Driven Vehicle in 5 Steps
“ANT driven vehicles can be installed in days, not weeks.” That’s the claim on this website. But surely the process of installing AGVs, AMRs and automated forklifts driven by ANT navigation is more complex than that?
The claim above is not an exaggeration. With the right preparation in place (see below), installing your company’s ANT driven vehicle at a customer’s site can be completed in as little as a few days.
In this article, we explain each of the 5 key steps involved in installing any type of mobile robot that is driven by ANT natural feature navigation.
But before we delve into those steps, let’s talk about that all-important preparation phase…
Pre-installation: preparation is key
In order to optimize the success of your automated vehicle installation, our expert team recommends three key activities.
1. Standardize
Today’s manual material handling processes cannot always be simply automated ‘as is’. There is often some adaptation required. So, be sure to carefully analyze, simplify and standardize your processes before bringing in mobile robotics.
2. Simulate
Simulating an AGV project beforehand can be a huge benefit. It can both help to iron out any potential issues (such as traffic hotspots), as well as helping you to define exactly how many of your vehicles your customer will require (note: a good rule of thumb is 1.4 automated vehicles to replace every one human-driven truck).
A ‘digital twin’ of your customer’s site can be created using CAD software (this twin is usually extracted from the building plans). Using ANT lab and ANT server in tandem, you can then run virtual vehicles through this simulated project.
3. Prepare & involve
- Minimize staff stress and resentment by communicating clearly and ahead of time about the company’s mobile robotics program and the benefits it will bring.
- Inform staff when and how the vehicle commissioning process will take place.
- Ensure the staff who will operate the automated vehicles are well suited to the job and train them well. (Also, be sure to give more than one team member this valuable education, as if the first leaves the company, or gets sick, the success of the entire AGV/AMR program might be put at risk.)
> Related: 7 Tips to Ensure AGV Commissioning Success
Installing an ANT driven AGV/AMR in 5 steps
Watch the quick video guide below or keep scrolling for a more detailed explanation:
Step 1 – Calibrate your AGV/AMR
When your ANT driven vehicle arrives at your customer’s site, your team’s first job will be to make sure its ANT navigation system properly understands the specific parameters of your vehicle.
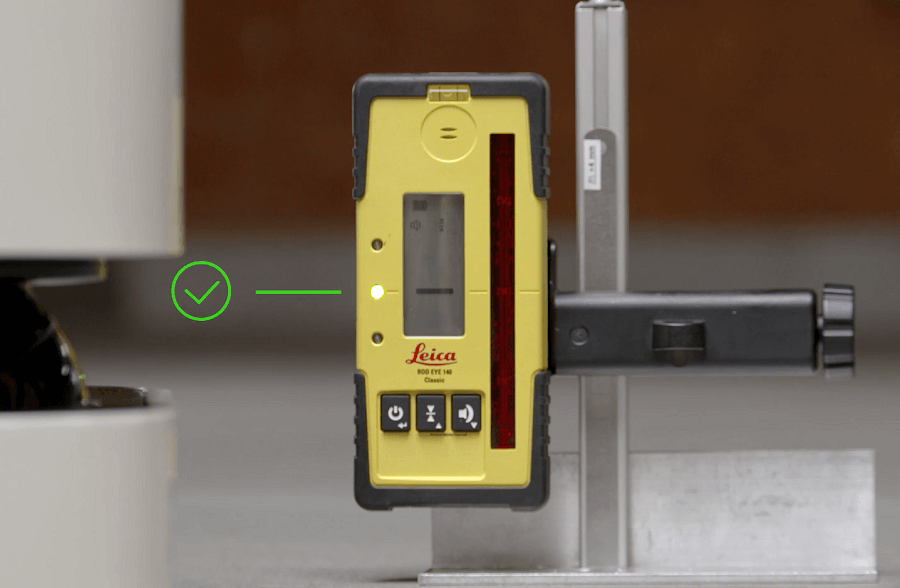
This step is important because a vehicle’s components – such as its LiDAR laser scanners, used by ANT for positioning – can be easily nudged out of alignment during shipping. A well-calibrated vehicle is much less likely to experience issues later on, as badly calibrated vehicles may not navigate accurately (and the reason for this may not be immediately clear, leading to a frustrating troubleshooting process).
The calibration process is straightforward, involving two key steps:
- Manual adjustment of the laser plane of your vehicle’s laser scanners.
- Automatic calibration of your vehicle’s geometry using ANT lab’s built-in Configuration Wizard.
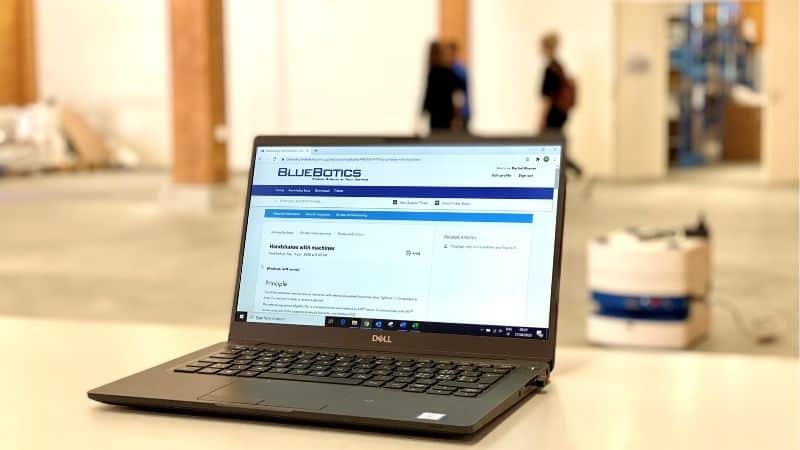
The process of vehicle calibration is covered in detail in one of our BlueBotics tutorial videos, not to mention our technical documentation, all of which are available on our dedicated Support Portal.
Step 2 – Create a site map
To create the map of your customer’s site, which your vehicle(s) will use to get around, you must first drive your vehicle manually around the site. In the case of an automated forklift, this will mean driving this hybrid vehicle as normal, using its steering wheel. But in the case of an AGV or AMR (i.e. a vehicle without a hybrid mode), this robot will be controlled using a wired joystick. This joystick is supplied with your first ANT hardware shipment.

As your vehicle moves around the site, data from its LiDAR laser scanners — effectively everything that these components ‘see’ during the drive — is recorded. This data is then imported into your ANT lab configuration software and transformed into a raw site map. At this stage, this map contains not only your site’s walls and permanent features (which will be used for navigation), but also other temporary or ‘dynamic’ objects that the scanners ‘saw’, such as pallets, people, other vehicles and so on. Don’t worry, we will remove these unhelpful objects shortly.
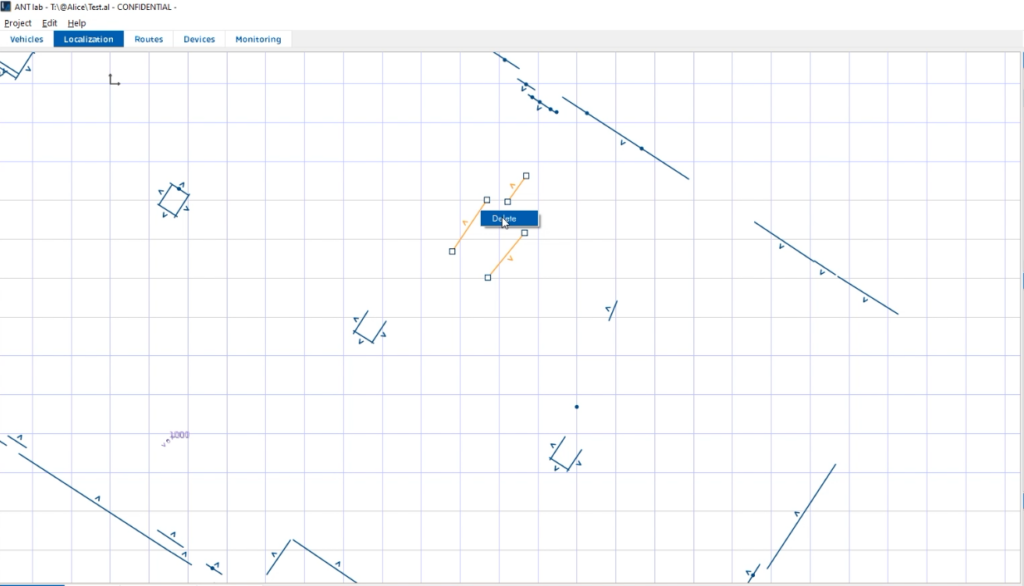
Step 3 – Clean the site map
Next, the map is “cleaned” in ANT lab. The aim here is to keep only what’s important. Temporary objects and features can be removed, leaving just the permanent, static features – such as walls, pillars, fixed machinery etc. – that ANT needs to calculate your vehicle’s position and navigate accurately.
This approach of using only permanent references will ensure your vehicle performs as expected, time and time again. And unless there are significant changes to the building or hall’s permanent structure, the map you have created never needs to change.
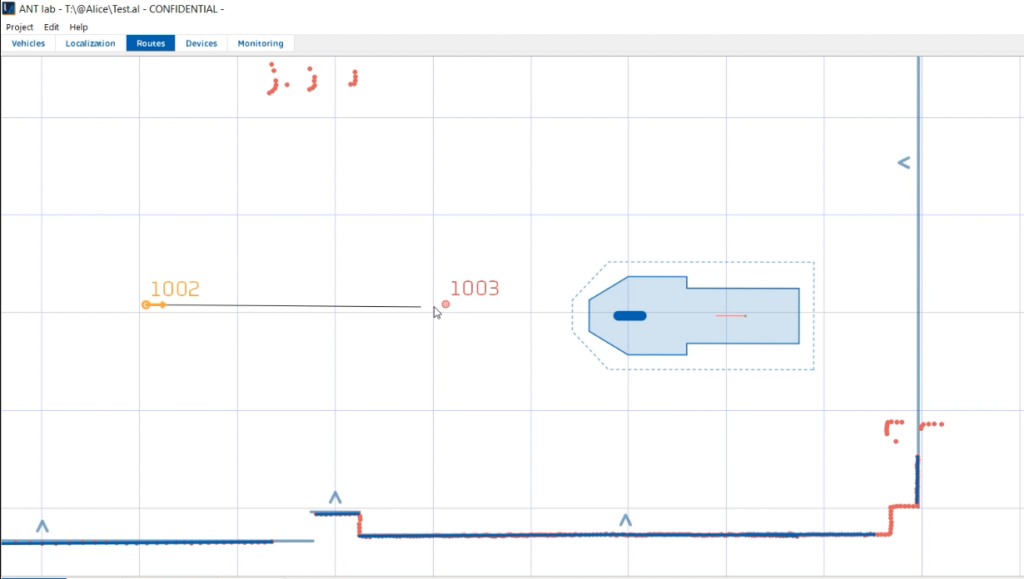
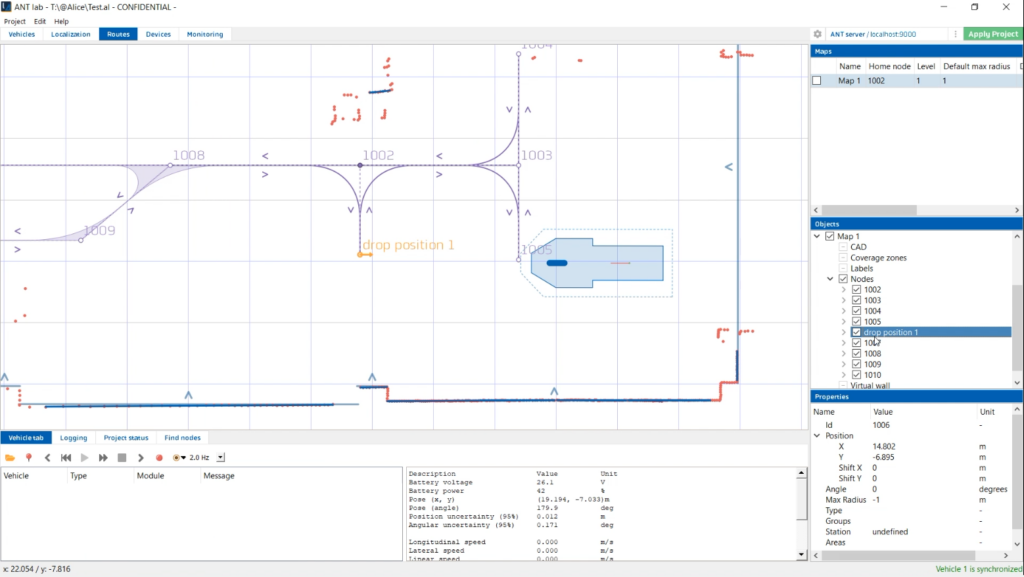
Step 4 – Create your vehicle’s routes
Now that your vehicles are ready to roll and your site map is clean, you can plot the routes, the virtual paths, that your robots will use to get around, using our supplied ANT lab software.
This process is simple using ANT lab’s graphical user interface. First, we create ‘nodes’. Then, we join these together with ‘links’. A link itself can be set as either unidirectional (meaning a vehicle can travel along this section of route in only one direction) or bidirectional (either direction is possible). Easy.
Step 5 – Create your vehicle’s actions
An action is a single task that is programmed to happen at a node’s location. For example, actions can be used to:
- Change a vehicle’s behavior (e.g. slow the truck down).
- Activate a vehicle’s sub-systems (e.g. lower or raise a forked machine’s forks).
- Enable the vehicle to interface with on-site machinery, such as automatic doors, elevators, palletizers, conveyors and more.
- Custom actions are also available.
The duration of this step can vary greatly, depending on the desired operation of the AGV/AMR in question. However, much of this work can usually be done in advance of arriving on the customer site. Frontloading the work this way can save days of time on-site.
Don’t forget!
When you partner with BlueBotics, an experienced BlueBotics systems engineer will travel with you to your first customer installation to ensure the success of this project and train your staff. To guarantee your team is always up-to-date with ANT best practice and our latest software updates, we also provide plenty of additional technical documentation, video tutorials, webinar content and more on our dedicated Support Portal.
Ready to get started?
Take the next step on your automation journey. Discover ANT navigation, or get in touch with our team of automation experts.
Let's get Started
Take the first step to automating your vehicle.
Schedule a call with our expert team today.